The following is a guest post from regular contributor, Deana at Your Happy Stuff.
I’ve noticed something in my home. While I adore our Christmas decorations, I find that our space typically feels a bit more cramped this time of year because of them. Feeling this pinch always spurs me to release excess clutter.
I believe that hanging onto stuff we don’t need, use, or love anymore is very confusing; and when my mind is confused, it says NO a lot.
In other words, physical and mental clutter is a great way to stay stuck in a rut. And for me, a Midwest winter is enough of a rut in and of itself.
So last weekend I felt the urge to purge jewelry I no longer wore. My jewelry situation felt confusing to such an extent, that I had pretty much stopped wearing most of it.
To tame this catch-all closet, I began by removing everything and separating my jewelry collection into things I would keep, and things I would consign.
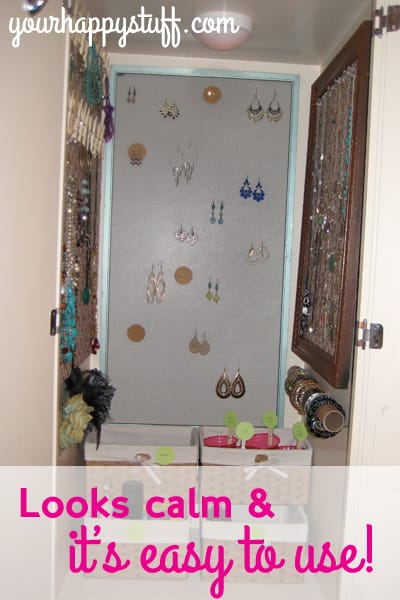
I put most of the earrings on cards that I created using my paper punch.
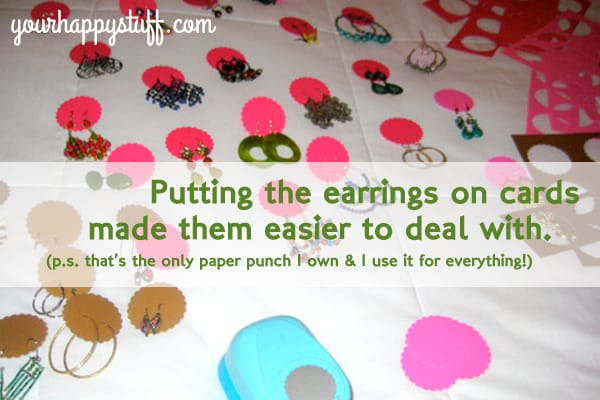
Note: I use this paper punch for everything: gift tags for holidays, labels, cute little notes, etc.
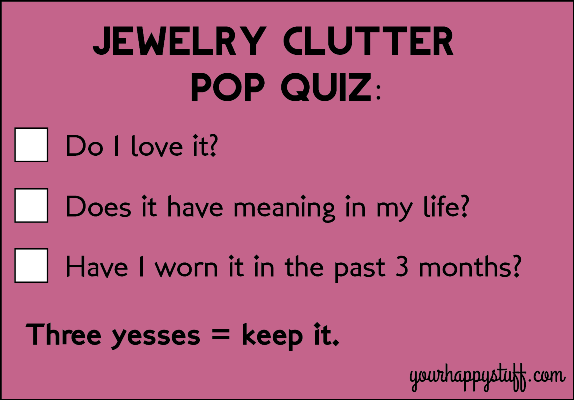
To help make decisions about what to keep, I used this pop quiz:
Do you keep things out of guilt? Laura has great advice for clutter guilt here.
To lessen the fear of letting go, I like to use intentions.
Intentions get me through tricky situations because they’re powerful programming for the brain. When we’re stuck or scared, our thoughts are always the problem. Intentions help address the situation at the level of our thoughts.
When I finally had things sufficiently pared back, I decided I wanted some new storage options that would enable me to SEE and ACCESS my jewelry more easily. So I called in an expert…my inventive 10-year old son.
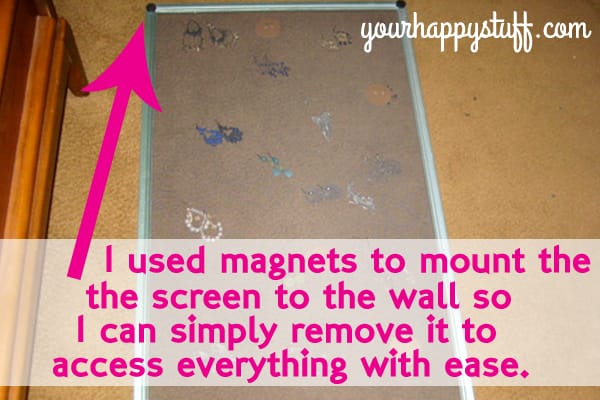
Immediately, we snagged an old screen from the garage to use for earring storage.
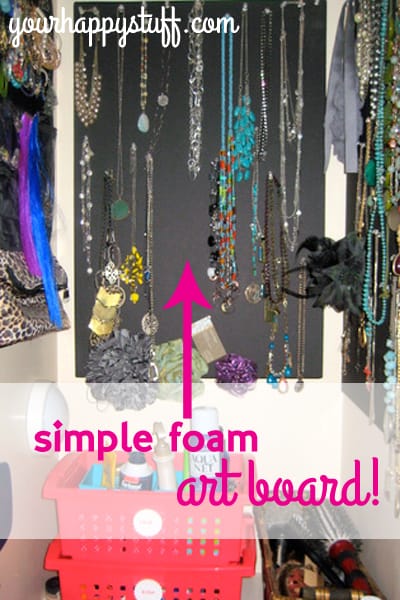
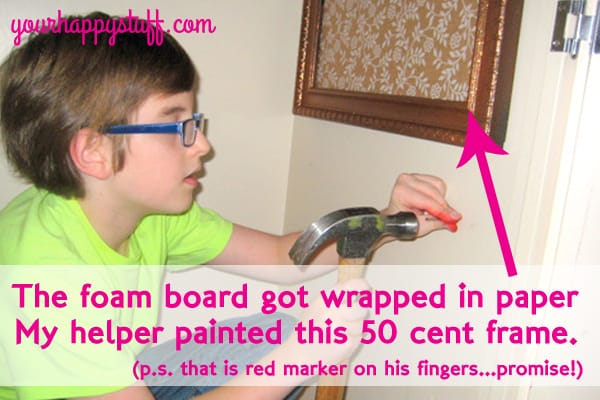
The frame? I picked it up at our local building supply recycling store a few months back for 50 cents. My son gave it a quick coat of paint while I cut and wrapped the foam board in paper (Christmas paper from last year, actually).
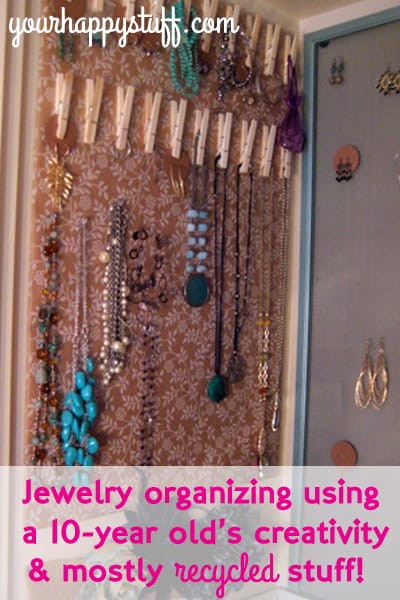
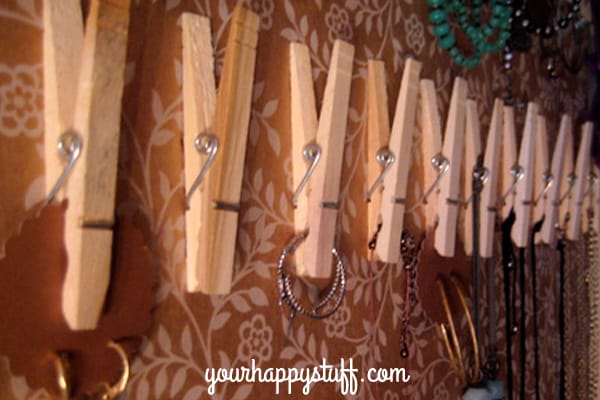
The other piece of foam was also wrapped in paper and my son had the awesome idea to super glue clothes pins to it. I love it!
I used Command Strips to adhere everything to the walls.
Whenever we got stuck on how we might store something I just asked questions such as:
“How could we store my bracelets so I can see and reach them easily?”
This would generate a ton of super inventive ideas.
To help bring our ideas down to earth I’d ask questions such as:
“I like that idea, but how could we…”
“What if we added…”
“Do you think it needs…”
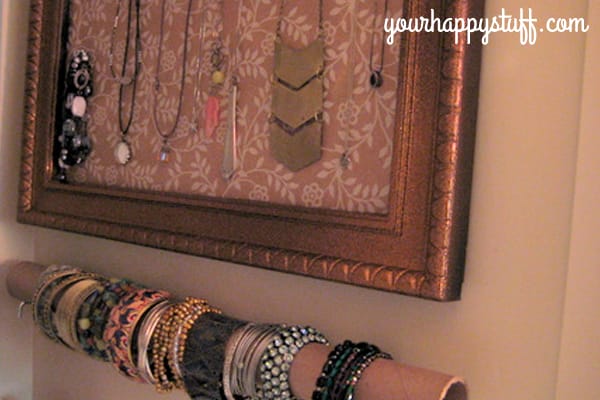
That’s how little dude came up with the fantastic idea for my bracelet storage. After I asked a few questions he announced, “I’ve GOT it!” He ran to the garage and came back with a cardboard tube that his older brother’s ebay posters were shipped in. He’d also found two curtain rod-bracket-thingers in his
dad’s toolbox.
The only items I bought for this jewelry organizing project were the baskets. I found them on clearance at the Shopko store up the street. We found everything else in the garage or another room.
I’m thrilled with the results! But what I love most about this closet is that my son and I had a blast creating it together, which evolved the project from a “chore” into a creative problem solving expedition.
My advice for organizing with children?
Don’t be a “project manager” with a bunch of rules and rigid expectations. Instead be a co-problem solver and guide solutions by asking questions that encourage creative thinking. Not only will you end up with an awesomely organized space, but you’ll encourage resourcefulness in your kids. It’s a win-win!
Let’s share and inspire each other! What’s the most creative thing you’ve repurposed or recycled as an organizing solution?
 Deana Ward of Your Happy Stuff loves helping overwhelmed women simplify and calm their lives. As a breakthrough life coach and creator of the 4-week rut buster, Happiness Hotwire, she helps her clients decide how they want to live and gives them simple steps and accountability to make it happen. Be sure to get your FREE gift and weekly tips from Deana over at Your Happy Stuff. You can also find her on Facebook and Pinterest.
Linking up: Yellow Bliss Road, Skip to My Lou, Home Stories A to Z, A Bowl Full of Lemons, and Thrifty Decor Chick
This is fantastic. My daughter has accumulated a lot of necklaces lately and the jewelry box she has is not cutting it for storage. Her room has her dresser on one wall, with an IKEA lack shelf above it, so there’s a nice space between those that she could reach that would be perfect for jewelry storage. I just hadn’t figured out the best way to do it. This is so awesome, I LOVE the super glued clothespins. I have a bag of those! and superglue! So….what if i didn’t frame the foamboard, just wrapped it in a pretty fabric, would that still work? suggestions for how best to hang it? Thanks to you both for these fantastic ideas!
Hey Melissa:) Glad you like the ideas! Absolutely wrap that foam board or cardboard in paper or fabric and go for it! NO rules:) Just use what you have and you’ll create something more wonderful than what you had before! The board my clothespins are glued to has no frame:) I used Command Strips to hang everything super simply…there’s a link above where Laura shares more about those.
Hope that helps! xo-Deana
This is such a wonderful idea! MY daughter has WAY to many necklaces that I am forever untangling, I really need to work with her to make one of these.
Hi Stephanie:) So glad you love the idea! Tangly necklaces? I also love the trick of putting the necklace chain through a straw to keep the chain untangled. This is especially handy when you travel. Have fun working with your daughter on this! It will be so worth it when you are done!
xo-Deana
CLEVER girl! Love the use of the wooden clothes pegs – easy access and uniform in appearance.