The following is a guest post from regular contributor, Rachel at Useful Beautiful Home.
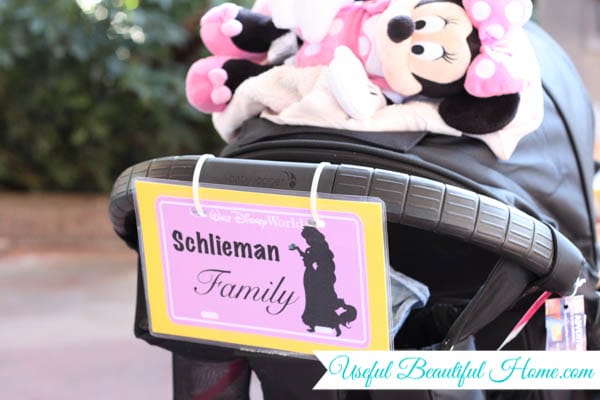
We survived a trip to Disney World this past week with my extended family, all 15 of us moving like a herd of turtles. 🙂 Having bunches of baby gear in our group, I made each family a stroller ID tag with a built-in pocket to organize our maps and the day’s itinerary. The goal being, one less thing to carry yet easily accessible when needed.
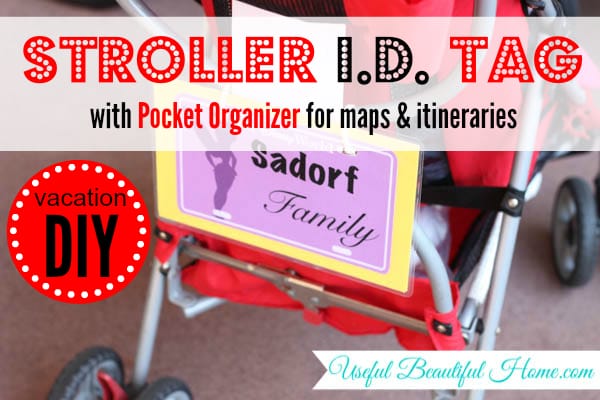
At most crowded theme parks, strollers are parked in a sea of similarity. I loved how easy it was to identify our 3 strollers with a simple sign. Disney knows this convenience factor too and prints you a name sign if you rent one of their strollers for the day. That’s what initially gave me the idea and then I searched online to find one already designed.
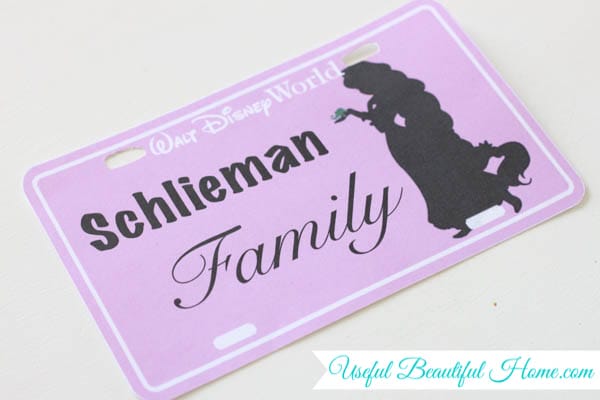
I found THESE license plate printables that Shannon at WDWpreschool.com created for her stroller. I appreciate her making them customizable and she has a wide variety of Disney characters to choose from (scroll down to see them all)! Thank you Shannon for making them available to us for free!
Even if you aren’t going to Disney, the signs are lovable characters for any stroller tagging reason (the zoo, vacation, other theme parks, etc.). If you download the blank format, you can add your own family’s name or whatever form of identification you prefer.
I customized my design choices, printed the tags and cut them out.
After that, I got thinking it would be really convenient if the tags also held our itinerary and park maps. I love things that are twice as useful and this is another example of how a DIY tweak can make that happen. Here’s how to make your own stroller ID pocket organizer…
After printing a tag of your liking, grab an inexpensive paper pocket folder like what is shown below.
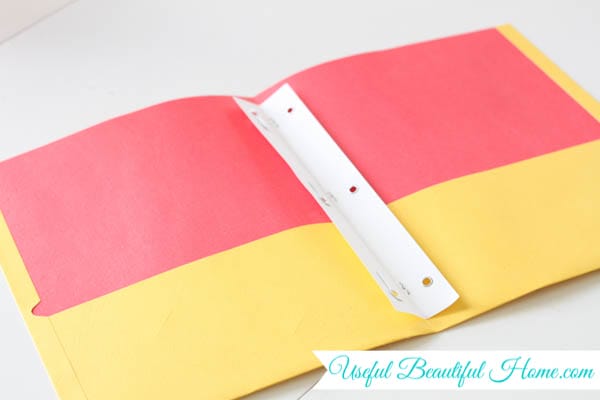
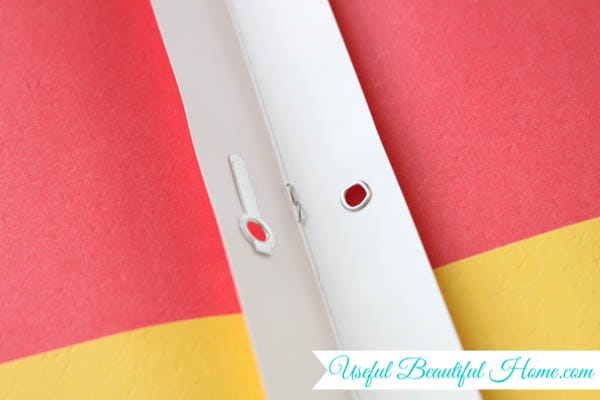
Anything will do, but less is better since you want a super basic version, preferably without staples. If yours comes with staples or three ring capability, you will need to remove those parts (see below).
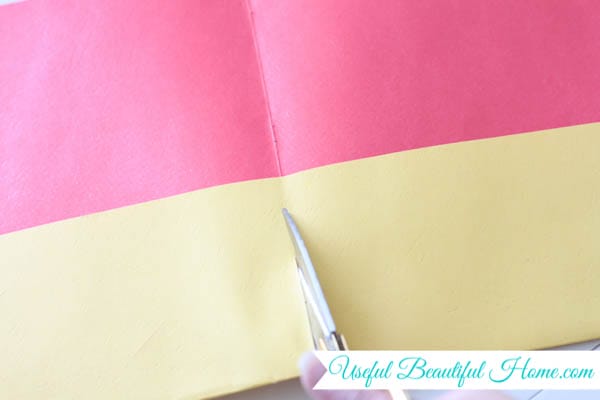
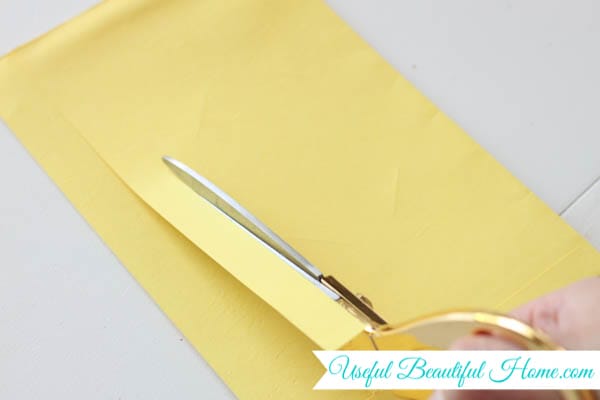
Now cut the folder down the center seam. You will be able to make at least two pocket tags from one folder.
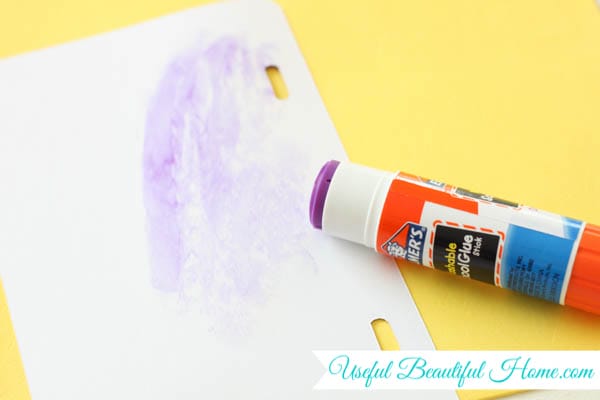
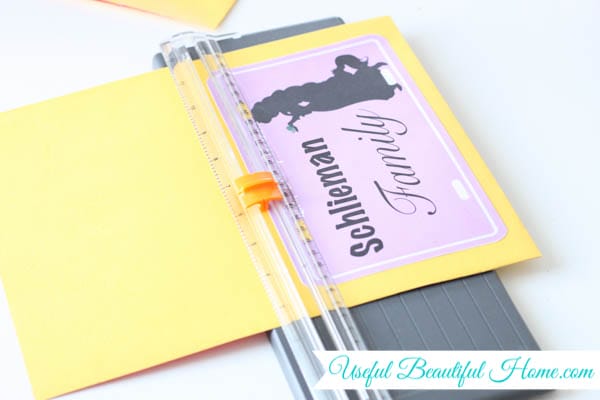
Trim the top of the folder down to whatever size you prefer. I did this by flipping it over and gluing my tag on the front first. I wanted to make the sign as small as possible, so I glued it towards the bottom and cut off the excess at the top.
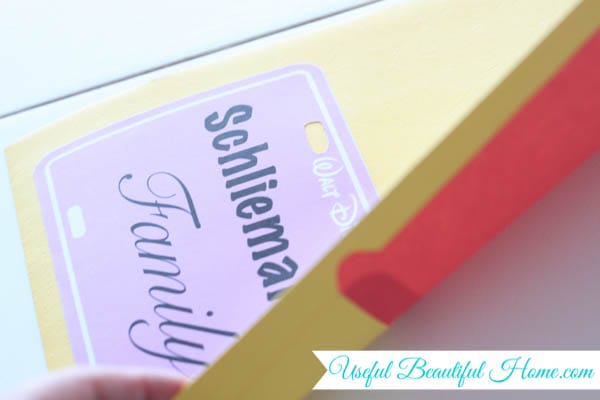

I also trimmed the back pocket side down a little (see below). It was too tall of a pocket and later I was thankful to have trimmed off about half an inch.
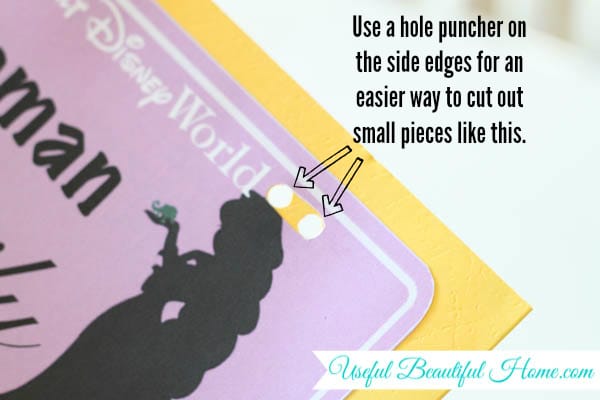
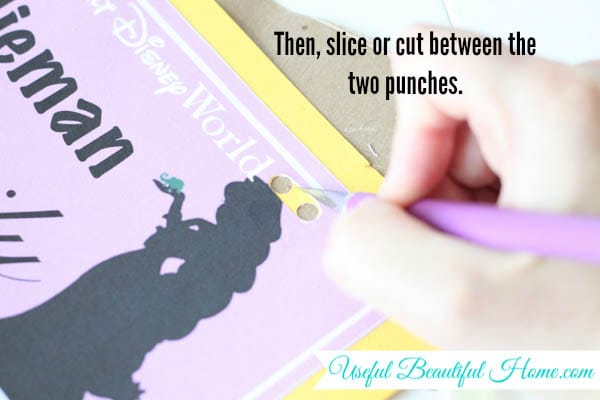
You will want to pre-cut the holes for the tag to hang from the stroller. I did this by hole punching each side and then used a small cutting blade to finish the section between the punched holes. See pics below for visual explanation.
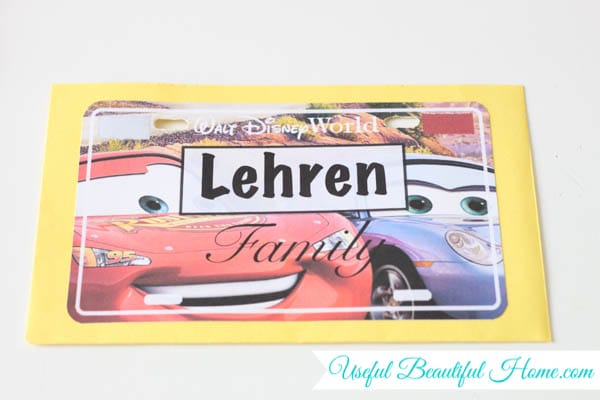
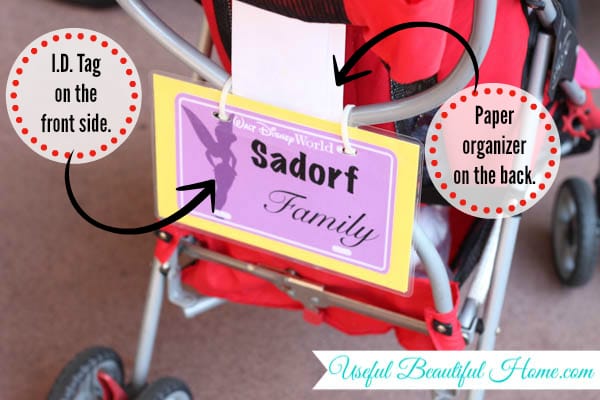
Now the sizing and trimming is complete. You should have a cute labeled stroller sign on the front with a pocket in the back and two hanging holes towards the top. Below is the sign I made for my sister’s son who loves Lightning McQueen.
One side of the pocket may be open depending on what type of folder you have. That’s okay, we’ll fix that with a laminator. I laminated my signs at Kinkos because I don’t own a laminator. It cost about a dollar or two per stroller sign. Laminate the whole sign, pocket and all, as one piece. When finished laminating, the back will be sealed closed and look like this…

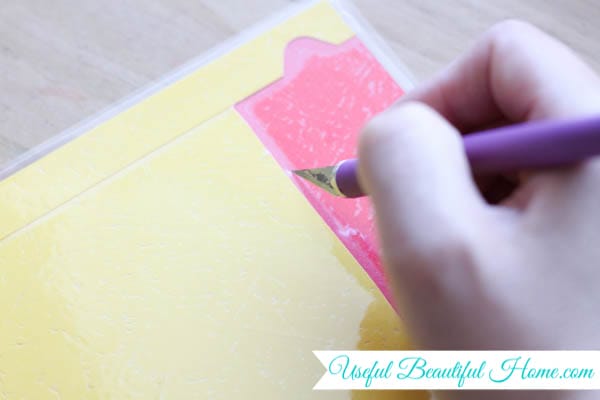
Repeat the same hole punching procedure to remove the cut-outs at the top. Then, CAREFULLY slice open your pocket. I did this using the same hand-held cutting blade. DO NOT press hard or you will cut through the front of your tag. All you want to do is gently slice open the laminated plastic that covers the pocket opening. I cut out the middle 4 or 5 inches but didn’t go all the way to each edge.
Now you have a doubly functional and durable stroller tag. Using something sturdy like cable ties, slip one through each hole on your sign and secure to the stroller. It works for both umbrella strollers and standard strollers.
According to my sister, her sign made it through three days at Disney, a week of vacation, an airplane trip home and is still going strong for her trips to the zoo. That’s more durable than I had imagined!
I could have purchased a white folder and printed the tag directly onto the front of the folder but I wasn’t sure if I could get the placement correct for printing and didn’t want to waste ink trying. Plus, I already had yellow folders (but no white) that were free. However, you may be more skilled than I am in print placement, so that’s a corner to cut if desired. 😉
Hope you enjoyed this tutorial and find it helpful for your upcoming summer plans! As always, comment below with any questions if something doesn’t make sense to you and I’ll do my best to answer clearly. Between this and Laura’s recent post on itinerary organization with extra links, we gotcha covered. 😉 Happy last weekend in May!

In the professional world, I’m a nurse by trade. But, around our house, I’m known as Mommy to our young daughter. My two worlds collided and began shaping into a blog. Useful Beautiful Home represents the hours I’ve dedicated to managing my household as efficiently as possible. I offer you motivation to keep your home healthy, organized, and welcoming. My goal is to share what I’ve implemented in my home to inspire you with fresh ideas and to encourage you to keep up the good work in yours! Learn more about me HERE or visit me at UsefulBeautifulHome.com.
Leave a Reply