Hey there! Today in honor of my birthday (whoot, whoot!) and the fact that I will be out gallivanting all day, I thought I’d put YOU to work instead. Isn’t that so super nice of me? You can thank me later when this works out for all of us. That’s how much faith I have in all of you, my wonderful readers!
So here’s the thing, I’m not a crafty girl and yet I have a need for some kind of tool to organize all my hook earrings. Some kind of tool to hang on the wall because I’m out of any other kind of space. What I’m wanting I’ve not seen for purchase, so I got this silly idea in my head that I could just make something instead. Seriously I should really just know better (although I did successfully do it with my necklaces).
I have a general idea of what I want to do, but unfortunately I just can’t figure out how to execute the whole thing. This is where YOU come in my lovely people. Someone out there is going to know how I can make this work. I’ve gone ahead and purchased my supplies already because I just randomly threw stuff into my cart at Value Village awhile ago thinking inspiration would magically come to me. I’m still waiting. So now I’m turning the whole thing over to you…..because it’s my birthday and you love me. Right? Right?
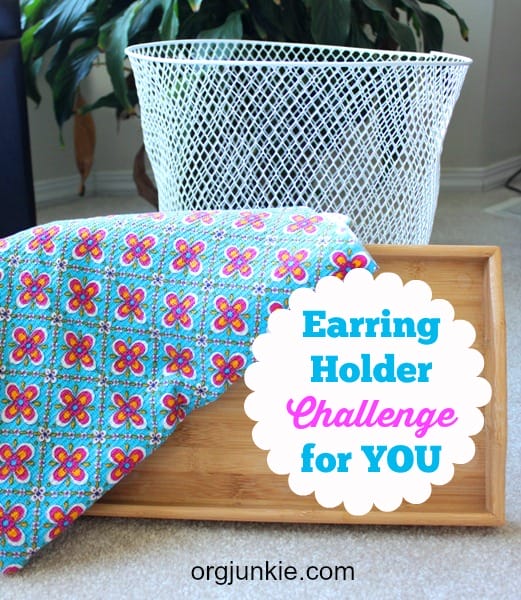
For this earring holder challenge, if you choose to accept it, you’ll be working with the following supplies:

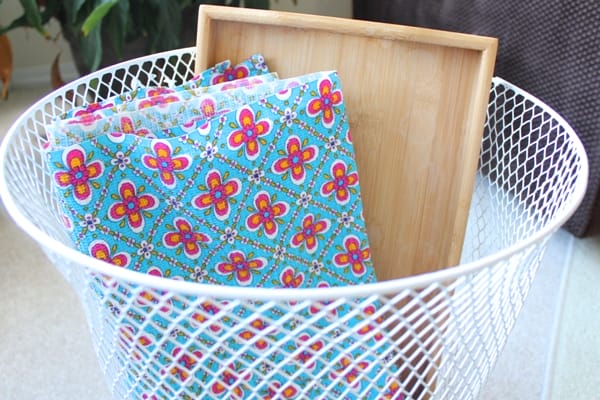
a wire trash bin
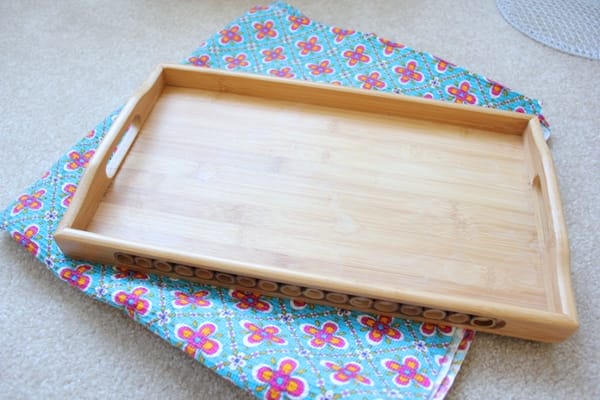
a wooden tray
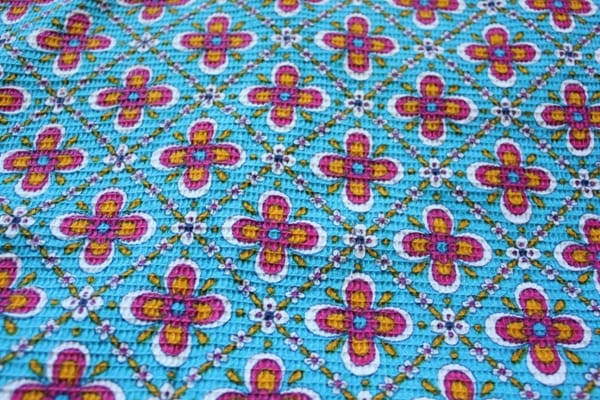
some pretty fabric
Do you see where this is going yet?
I want to cover the inside of the tray with the fabric and then secure a cut out piece of the wire trash bin on top of the fabric. I would then be able to hang the whole thing on the wall and hook my earrings on to the wire parts and see the pretty fabric in behind. You know, for style 🙂 See it’s a great idea in theory right?
What I can’t figure out for the life of me is how to attach the wire part to the fabric without it looking unfinished and sloppy. If I hot glue it down I think you would see the gobs of glue. Then I thought that I could just cover the gobs of glue with some kind of trim but what?
Geez I’m at a loss here folks but thankfully I have YOU and YOU will not let me down now will YOU? You have all day to figure this out for me. Then when we do have it all figured out we can all make matching wire fabric tray earring holder thingys together and live happily organized ever after. Sweet!
Unless of course the idea is dumb. It might be dumb. Let me down gently if this is the case but please give me an alternative. Friends don’t leave friends with nowhere to hang their earrings. Especially when it’s their birthday 🙂
Okay, are you ready?
Get mark
Get set
Comment!!!!!
Linking up: House of Rose, Design Dining and Diapers, Thirty Handmade Days, Your Homebased Mom, Skip to My Lou
I made these cute earring holders in no time flat with picture frames that I bought at a garage sale. The bonus is they already have a way to hang them. Come check it out. I believe it will be less work for you. *smile* http://homesteadersheart.blogspot.com/2011/11/ive-been-makin-stuff.html
Yep, I did the same thing as Kim, using an antique frame, except I covered the backboard in a beautiful print paper, and added small hooks and some wires across. Super easy and so pretty! I’m sure the tray and fabric and bin can be put to other craft uses! 🙂 And a happy birthday from London!
You could use some fancy thumbtacks or brads to secure the wire to the wood.
I would cut a thin sheet of something sturdy – cardboard, plexi, wood? – a little smaller than the inside dimensions of the tray, wrap the fabric and the wire mesh around the edges of the sturdy sheet, then glue it down inside the tray. Voila – hidden wire edges.
Oh, and Happy Birthday!!
You don’t want your mesh to sit flush against your fabric or your tray, otherwise, you won’t be able to get your earrings through it, or it would be pretty hard. Here’s how I would do it.
Cut your fabric to the needed size, then use whatever glue you are comfortable using (hot glue, Modge Podge, whatever) to adhere the fabric directly to the tray and smooth it out really nicely. Then, to create a lip to hold your mesh a tiny bit away from the tray, run a thick line of glue ( I would use hot glue) around all four sides and let it dry completely. Then cut your wire to the needed size, and use another line of glue all the way around to adhere the edges of it to the tray. If you are good with a glue gun, it shouldn’t look bad. But if you need to cover it up, use a coordinating ribbon, some extra fabric, or something to cover the line of glue.
Another tip I would offer would be to cut your wire out a day or so ahead of time and lay something heavy, like books, on it to try taking the curve out of it. That should make it much easier to work with.
This sounds really great!
If you’re not into the glue line, you might cut the wire sheet bigger than the tray so you can pull it around the long sides where there are no handles and staple it to the back. You’d have the beautiful backsplash and a good distance to the tray so the earrings go on and off easily.
I agree with glueing the fabric to the tray and cutting wire day or two in advance and flattening with book… but with the tray lip I think the least messy way of attaching the wire is stapling from the back on one edge… pulling tight and stapling on edge on other side. It should leave a big enough gap and you don’t have to worry about sharp ends on those sides. You can hot glue a ribbon on the other two edges to cover them and remove sharpness. Can’t wait to see the final project. 🙂
As long as your earrings aren’t really heavy (which they shouldn’t be anyway, it’s so bad for your ears!) you don’t even need the mesh! You can just poke them right into the fabric! That’s how I used to do it before I made a new earring holder (I needed more room). Good luck!
I made mine out of a piece of blue burlap that I hemmed all around and ran a dowel through that I attached to a plate shelf. The plate shelf holds a favorite teacup and saucer with my earrings hanging below.
I envision using a combination of your idea and the picture frame idea. Cover a piece of heavy duty cardboard in your fabric. You can attach using hot glue. Then having cut your wire basket and flattened it out, place it over top of your fabric. Staple it in place then place it in the frame.
I just glued crushed velvet to Styrofoam and hooked my earrings in it.
What about some small white screw-in hooks to hang the wire mesh (after gluing on fabric to tray as mentioned above)? You could even use pliers to close the hooks so that it swings upward (whether horizontal or vertical, whichever way you have the space to hang it–3 if horz/2 if vertical) without falling off or coming off the tray.
This is what I would do… First of all, I bet your earrings are beautiful and will be a decoration and and of themselves… so I wouldn’t cover the back of the tray with fabric – I’d let the wood be a beautiful backdrop for you. But… you can use fabric around the edges to help hide the mechanics of the wire. So, cut the wire so that it wraps all around the outside of the tray – try to get it neatly around the edges so that the raw edges are in the back. Use the fabric to cover the edges and the back. If you need more substance than just the fabric then do this… cut pieces of (thin, like cereal boxes) cardboard the correct size to cover all of the outside edges (and the back if you really want it finished off. Then wrap the fabric around each piece of cardboard and hot glue the back closed. Now hot glue the messy part of that to all of the edges of the tray with the mesh that you want to hid. feel free to email if you have any questions. Good luck and have fun! And HAPPY BIRTHDAY!!!!
I made some! I used an unfinished wood picture frame(painted in my daughters favorite colors) and glued a sheet of plastic canvas in place of the glass with some hot glue. When my oldest daughter went off to college, we added cup hooks on the bottom edge and now she can hang her necklaces and keep them tangle free! (I wish I knew how to post a picture to show you the finished product!)
I would take the fabric and the wired mesh and wrap it around a sturdy piece of cardboard cut to the size of the inside of the tray then using a stapler gun, staple the edges into the tray and then trim around the edges with nailhead trim. You can spray paint the trim to coordinate with the fabric! Happy Birthday! I am sure it will turn out adorable.
I thought you could just decorate the basket and stick the earrings around it. I used a picture frame with the mesh that you use to make rugs with to hang my earrings on. Can only do the hanging ones…..
I made an earring holder very similar to this pin holder that I blogged about http://www.formosaspain.com/2014/04/disney-pin-trader-board.html – I think you are probably looking for something a little larger, which is totally doable with a larger frame and any metal vent cover at your local hardware store 🙂 You can very easily cover it with fabric if you want.
Happy Birthday!
I’d sew the fabric into a liner for the basket and sit it on my dressing table, hang earrings all over it and use the fabric basket to hold other items.
I made a super simple & pretty earring holder by inverting a mesh pencil cup from the dollar tree over a milk glass vase. It’s simple, effective & cute!
ooh, I LOVE that idea!
I am lame with no answer to your challenge but did want to say Happy Birthday to you – my birth-day-sharer!! 🙂 Thought of you today!
I would glue the bottom of the wire trash bin to a plastic turntable. You can hang your earrings all over the wired bin and spin it to get to all of your earrings. Hang neclaces from small “s” hooks hanging over the top of the basket
I just made one out of a picture frame but you could cut a piece of cardboard to fit inside the tray then cover that with fabric and glue into tray. The wire from the trash can seems too rounded not sure how flexible it is. I got wire sheet at Home Depot. And hot glued a piece cut to fit right inside the frame with a little bent inside for the. Glue to grab onto. But dont put the wire right up against the fabric, you need room for the earring hook.
Happy day after your birthday! You share a bday with my father-in-law and niece :). It looks like you have lots of great ideas here. Good luck with your project!
You could cover the inside of the tray or leave “natural” as someone suggested, then use some small trim and adhere that to the tray on all four inside edges. Then you staple the wire mesh to the trim. Use four more pieces of the trim and cover the exposed edges of the wire adhering with wood glue probably. That way your edges are finished and you have room between the mesh and the tray. Happy birthday!
First off – happy birthday! I hope it was wonderful! And secondly – I love this post, for just a whole lot of reasons! Most of all because my daughter has been working on creating her own earring organizer, and I loved sharing your challenge and your readers’ great ideas with her! She’s younger (just a tween), so she doesn’t have a lot of dangly earrings yet – she just purchased a small cork board to drive her post earrings into and then kept her backs in a small container next to it. She enjoyed reading and thinking about all the clever ways to create a cute organizer for her danglies (once she has more)! Such a fun idea to ask your readers for their creative input – love it! Thanks to you – and them 😀 – for the inspiration!